What Does “Check Atomizer” Mean? A Complete Guide to Fixing the Error
What Does “Check Atomizer” Mean?
If you’ve ever turned on your vape battery only to see the dreaded message “Check Atomizer” or blinking lights, you’re not alone. This common error can be confusing, especially if your cartridge looks fine and your battery seems charged. The good news is that this problem is usually easy to fix with a little troubleshooting. In this guide, we’ll explain what “Check Atomizer” means, the most common causes, and step-by-step solutions to get your device working again.
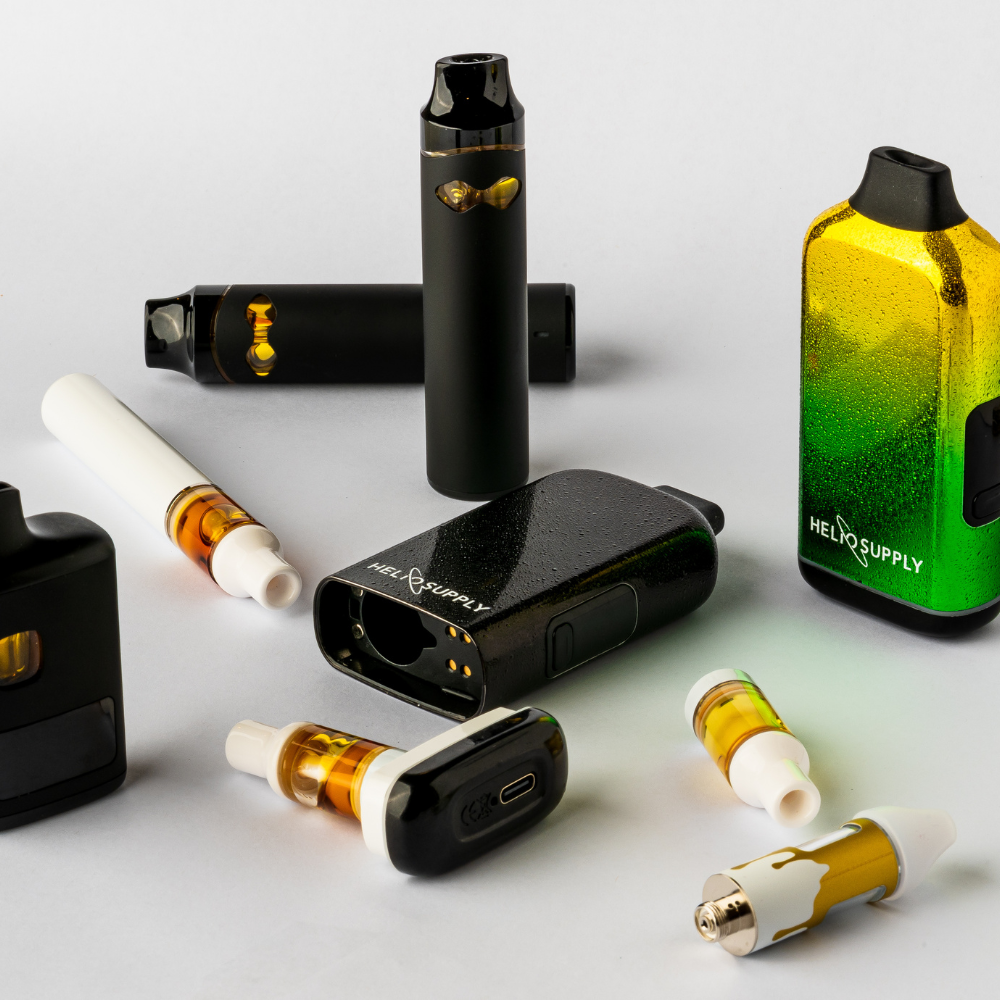
What Is an Atomizer?
Before diving into the error, it helps to understand the part it’s referring to: the atomizer.
In simple terms, the atomizer is the heating element inside your cartridge. Its job is to absorb oil and heat it into vapor when you draw from your device.
The atomizer connects to your battery through the 510 thread connection (the metal plate at the bottom of your cartridge). If that connection isn’t strong or clean, the battery can’t “see” the atomizer—triggering the “Check Atomizer” error.
Why Does My Vape Say “Check Atomizer”?
There are a few main reasons this error shows up:
-
Loose Cartridge Connection
-
Your cartridge may not be screwed in all the way, or it might be slightly misaligned.
-
Your cartridge may not be screwed in all the way, or it might be slightly misaligned.
-
Dirty Contact Points
-
Oil, dust, or residue can build up on the bottom of the cartridge or the battery plate, blocking the connection.
-
Oil, dust, or residue can build up on the bottom of the cartridge or the battery plate, blocking the connection.
-
Overtightening the Cartridge
- Screwing in a cart too tightly can actually push down the center pin, making it harder for the battery to make contact. Some 510 threaded cartridges have different lengths so overtightening longer 510 threaded cartridges can cause this issue.
-
Faulty Cartridge or Coil
-
Sometimes the atomizer inside the cartridge is burnt out, broken, or defective.
-
Sometimes the atomizer inside the cartridge is burnt out, broken, or defective.
-
Battery Issues
-
In rare cases, the problem is with the battery’s center post or internal connection.
-
In rare cases, the problem is with the battery’s center post or internal connection.
How to Fix the “Check Atomizer” Error
Here’s a step-by-step troubleshooting guide to fix the problem:
1. Check the Cartridge Connection
- Remove your cartridge and reattach it gently.
-
Don’t overtighten—just twist until it feels snug.
2. Clean the Battery Plate and Cartridge Bottom
- Grab a Q-tip and some isopropyl alcohol (at least 70%).
- Wipe the bottom of your cartridge where the metal contact is.
- Clean the battery plate (the small metal circle at the top of your battery).
-
Let it dry completely before reattaching.
3. Inspect the Cartridge for Damage
- Look at the bottom of the cart: is the center post bent or sunken in?
-
If so, you may need to gently lift it with a small tool (like a paperclip).
4. Try Another Cartridge
- If you have a second cartridge, screw it onto your battery.
-
If the new one works fine, your original cartridge was defective.
5. Test the Battery
- If none of your cartridges are working, the battery may have an issue.
- Check if the battery plate where the cartridge connects on the battery is stuck or pushed down.
-
Some batteries have adjustable pins you can carefully raise.
How to Prevent the “Check Atomizer” Error
A little maintenance goes a long way toward avoiding this error. Here are some best practices:
- Keep it Clean: Wipe your battery plate and cartridge contacts weekly.
- Don’t Overtighten: A snug fit is enough. Over-tightening can damage threads or push pins down.
- Store Upright: Storing carts upright reduces oil leaks that can clog the connection.
-
Use Quality Cartridges: Cheap or poorly made carts often have weaker connections and coils that fail faster.
When to Replace Your 510 Cartridge or 510 Battery
If you’ve cleaned everything and tested with multiple carts but still see the “Check Atomizer” error, it may be time to replace one of the components:
-
Replace the Cartridge If:
- The atomizer looks burnt or broken
- Oil isn’t being absorbed by the wick
-
You get the error only with that one cartridge
-
Replace the Battery If:
- None of your cartridges work on it
- The center post is permanently damaged
-
The battery has visible damage or charging issues
Smart Range 510 Battery
- When ‘Check Atomizer’ appears on the OLED screen of the Smart Range 510 battery use the steps above to troubleshoot. The most common causes of the ‘Check Atomizer’ warning are the overtightening of cartridges & dirty contact points. Simply slightly loosen your cartridge and/ or clean the bottom of your cartridge and your battery plate.
Smart Bar 510 Battery
- When your Smart Bar 510 battery starts repeatedly blinking red use the steps above to troubleshoot. The blinking red light is the way the Smart Bar indicates that you should check your atomizer. The most common causes of the ‘Check Atomizer’ or in this case the blinking red light warning are the overtightening of cartridges & dirty contact points. Simply slightly loosen your cartridge and/ or clean the bottom of your cartridge and your battery plate.
Dual Charge 510 Battery
- When your Dual Charge 510 battery starts repeatedly blinking red use the steps above to troubleshoot. The blinking red light is the way the Dual Charge indicates that you should check your atomizer. The most common causes of the ‘Check Atomizer’ or in this case the blinking red light warning are the overtightening of cartridges & dirty contact points. Simply slightly loosen your cartridge and/ or clean the bottom of your cartridge and your battery plate.
Final Thoughts
Seeing “Check Atomizer” or blinking lights on your vape battery can be frustrating, but in most cases, it’s a simple fix. A loose connection, a little bit of oil residue, or an overtightened cart is often all it takes to trigger the error. By keeping your device clean and handling your cartridges carefully, you’ll reduce the chances of running into this issue. And if the problem persists, swapping out your cartridge or battery is usually the quickest solution.
Next time your vape flashes “Check Atomizer,” don’t panic—just follow this guide, and you’ll be back to enjoying smooth, flavorful hits in no time.